Info
2FA Login SignUp with Clickatell SMS & Admin Panel
Author : CodeDaddy
Create Date : October 04, 2020
Support : yupokteam@gmail.com
Overview
2FA is very powerful tool to your Business & Protect your Website and your User. You can easily manage & control almost everything via very awesome Admin Panel. Bonus : You can add your own Announcement to User . This awesome feature add easily connected with your Users.
No Need of Programming Language. All will be Done in Wordpress Like Admin Panel.
Security : It is protected against SQL injection, XSS and other attack and your website will be safe.
Requirements
Before starting to install, make sure you fulfill the following requirements:
- Clickatell SMS Gateway Purchased Plan
- You can use this script on any live LINUX or PHP server or Localhost.
- PDO Enabled & Required PHP version in server >= 5.4.
- 99.99% Web Hosting automatically enabled PDO Function
Admin Features
- jQuery & Ajax Login (No Page Reload)
- Powerful Dashboard Analysis
- Dashboard (User Analysis) : Total Users, Active Users & Deactive Users.
- Dashboard (Announcement Analysis) : Total Announcements, Active Announcements & Deactive Announcements.
- Dashboard (Send SMS to User Analysis) : Total SMS sent, This Month SMS sent & Today SMS sent to User (means Registered Users).
- Dashboard (Send SMS to Non User Analysis): Total SMS sent, This Month SMS sent & Today SMS sent to Non User (means any Mobile).
- Save SMS Setting (API Key/Username/Password etc.) without Page Reload
- Announcement Setting : Wanna show or not to Users, It's upto Admin.(With just one click All Announcement will hide/show from User Panel)
- Announcements : Add / Edit / Activate / Deactivate without Page Reload
- Users : Manually Add User & Send Automatically Login Credentials to their Mobile via SMS.
- Users : View / Activate / Deactivate User without Page Reload
- Users : Deactivated User cannot Login & If User logged in already then they will automatically logout if they click on any Option.
- Users : Send SMS to any Registered Users without Page Reload
- Users : Users can view Admin SMS inside User Panel & on their Mobile SMS.
- Users : View Admin SMS which sent to User in Sent SMS Option
- Non User : Admin can send SMS & View sent SMS to any Mobile Number inside Non User SMS option without page reload
- Manage Country : If Admin Activate All country On sign up page User can select their Country
- Manage Country : If Admin Deactivate All country & after that activate Only 1 country then On sign up page User can select their Country from 1 country.
- Manage Country : Activate all country with single click.
- Manage Country : Deactivate all country with single click & after that please choose 1 Country activated Otherwise OTP will not be sent (Atleast 1 Country has to be activated).
- Update Admin Email without page reload.
- Update Admin Password without page reload.
- Well Rich Online & Offline Documentation.
User Features
- View Admin Announcements with Load More Function.
- View/Search Admin SMS which sent to their Mobile
- Update Fullname / Address / State / City / Zipcode
- Update Country
- Update Mobile via OTP
- Update Password via OTP( No need to remember Old Password)
How to Create Database, Username, Password & Import SQL file? (It's Only a Demo)
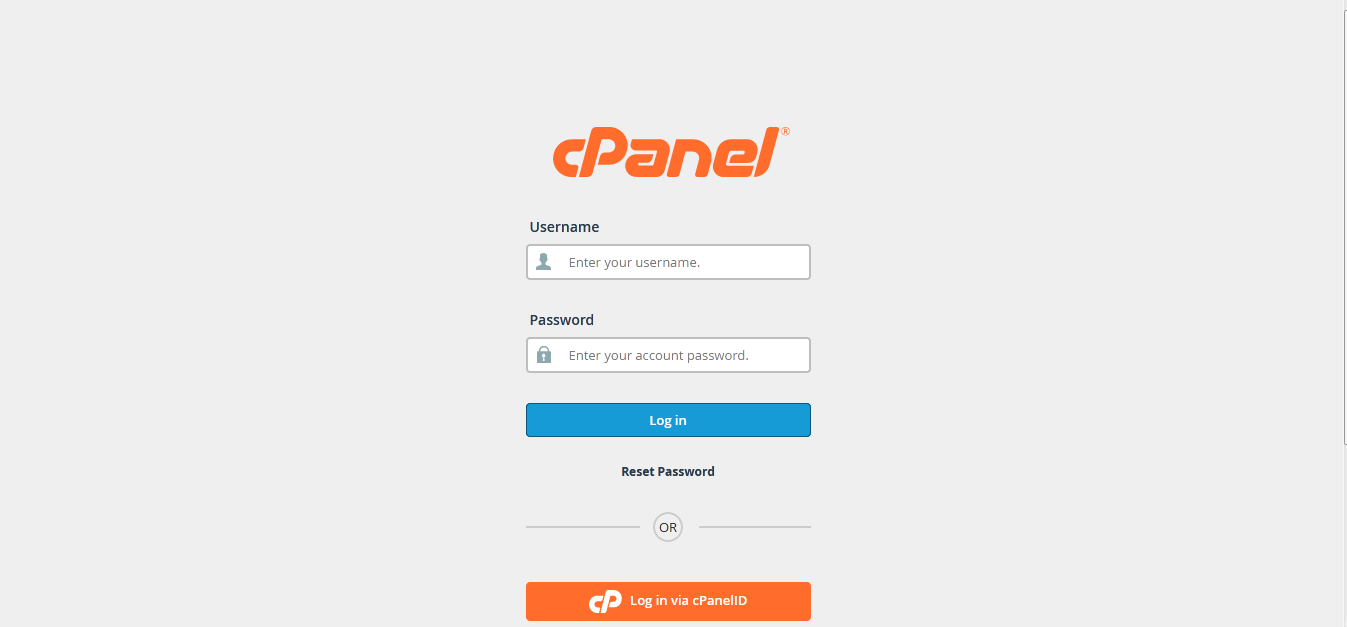
- Step 1: Login to your website CPanel with your Username & Password.
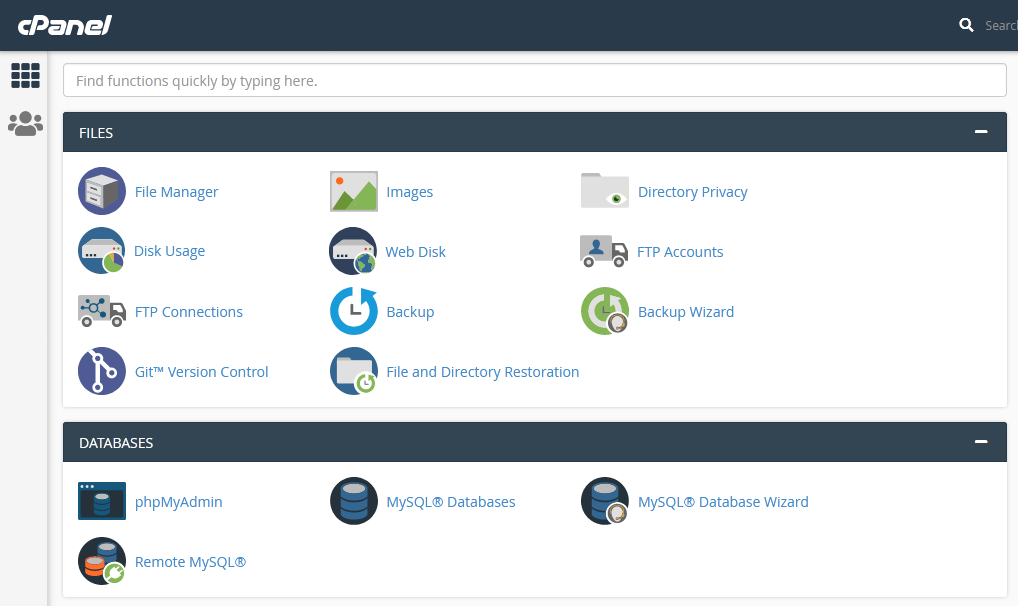
- Step 2: On Homepage, Scroll Down to Databases & Click on MYSQL Databases option.
- Step 3: Create New Database, Just assume (This is Only Demo Purpose) we want to give name of Our Database is billing_system So Just write billing_system & press Create Database Button.
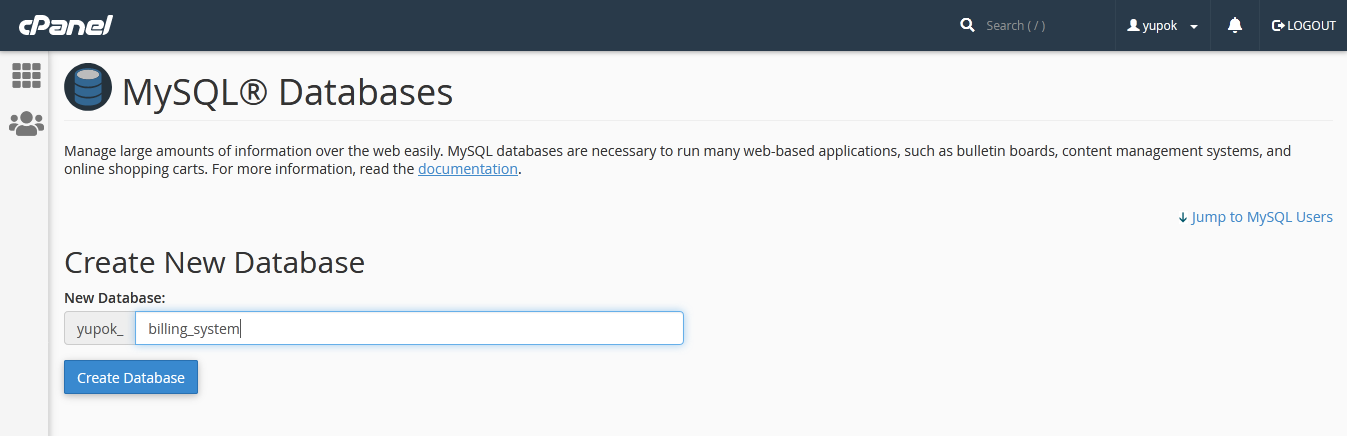
- Step 4: A message appears, Added the database "yupok_billing_system" It means Your Database Name : yupok_billing_system , Note : yupok_ prefix is demo, your website automatic added Prefix to your database name.So copy that name that is your Original Database Name.
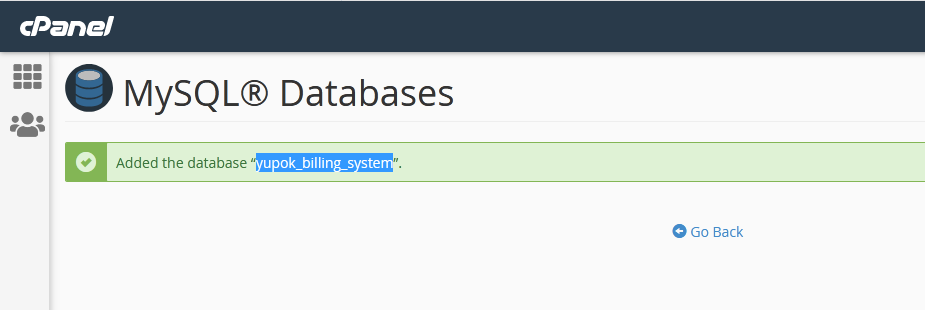
- Step 5: Press Go Back and return to Database Page again.
- Step 6: Scroll Down the Page, MYSQL Users Add New User, Just fill the details like you want to use Username & Password & keep details in the safe place & Press Create User button.
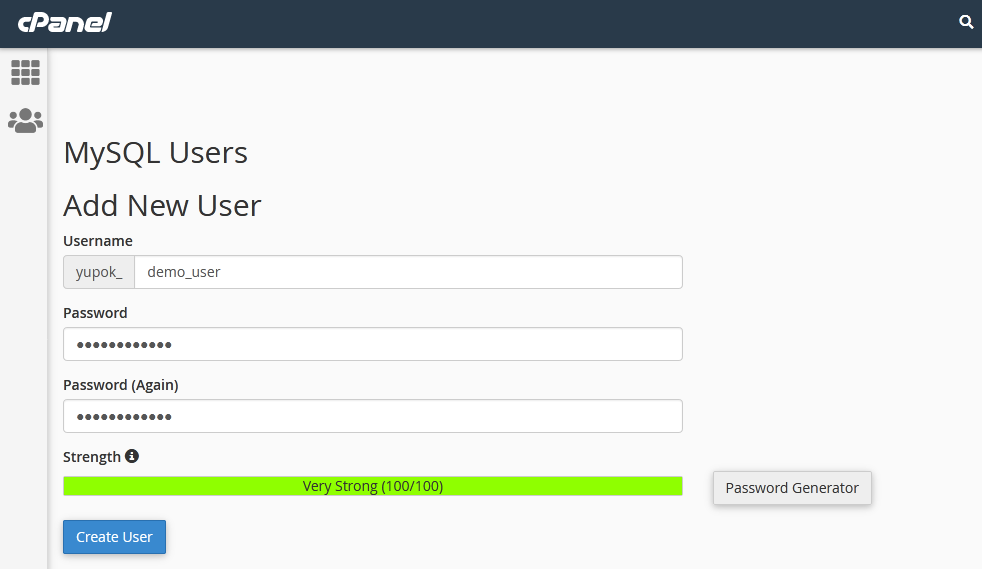
- Step 7: A message appears, You have successfully created a MySQL user named "yupok_demo_user". It means Your Database USERName : yupok_demo_user , Note : yupok_ prefix is demo, your website automatic added Prefix to your Username.So copy that name that is your Original Database Username.
- Step 8: Press Go Back and return to Database Page again.
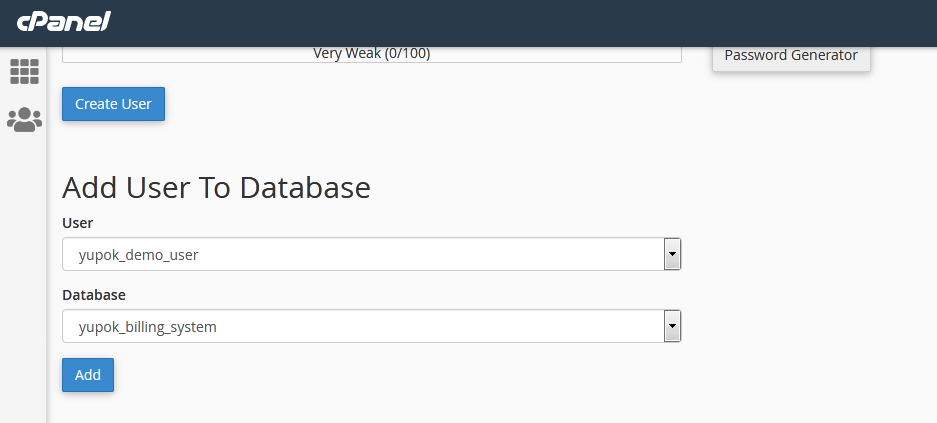
- Step 9: Scroll Down the Page again to Add User to Database . Select your Last Created Username & Last Created Database for this billing system & Press Add Button.
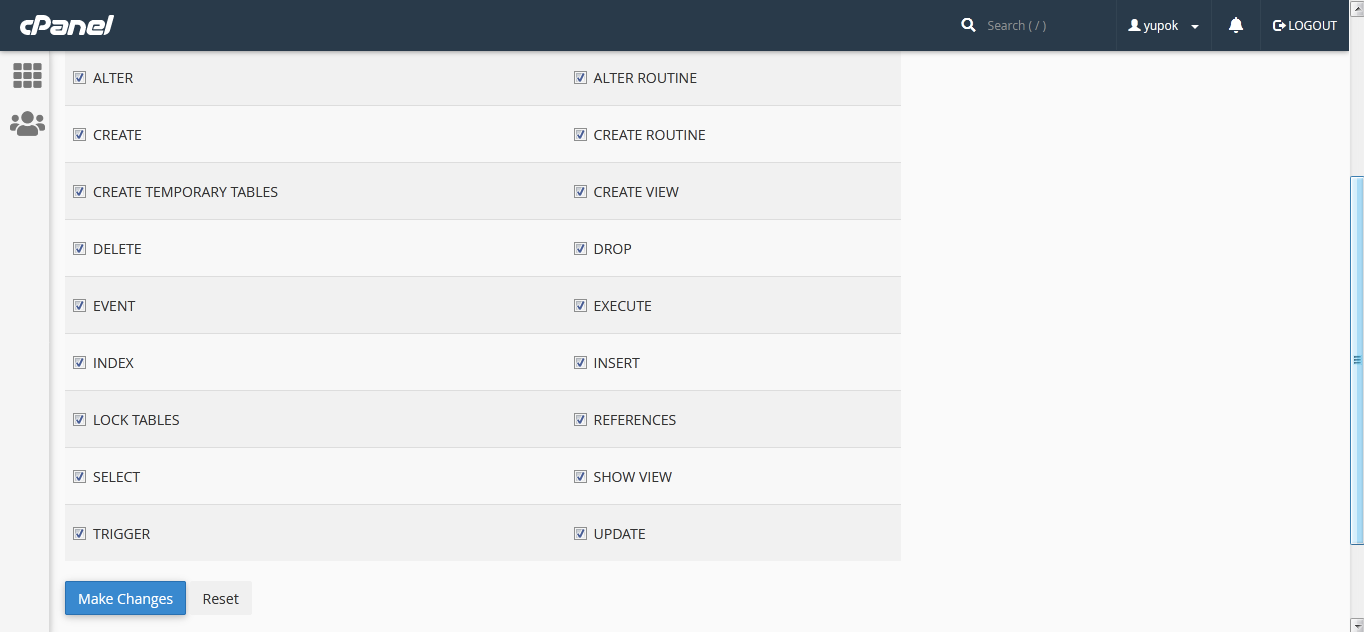
- Step 10: You will redirect to Another Page. Click on ALL PRIVILEGES option, Scroll down & Press Make Changes Button.
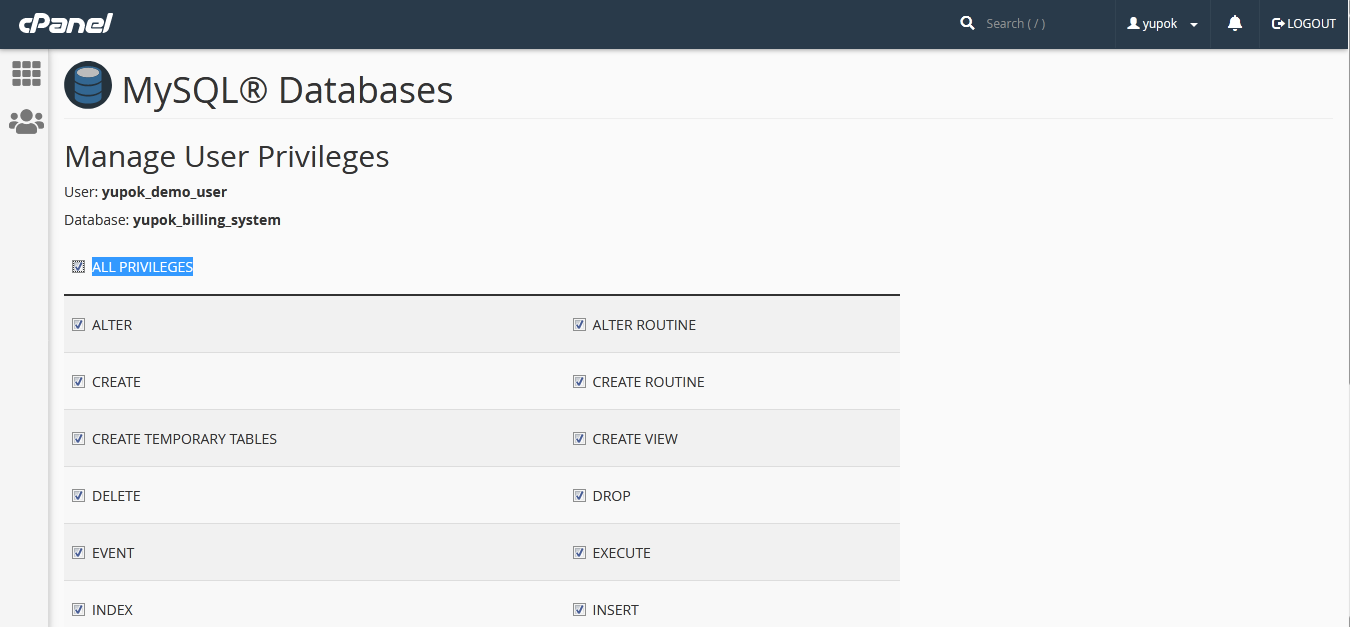
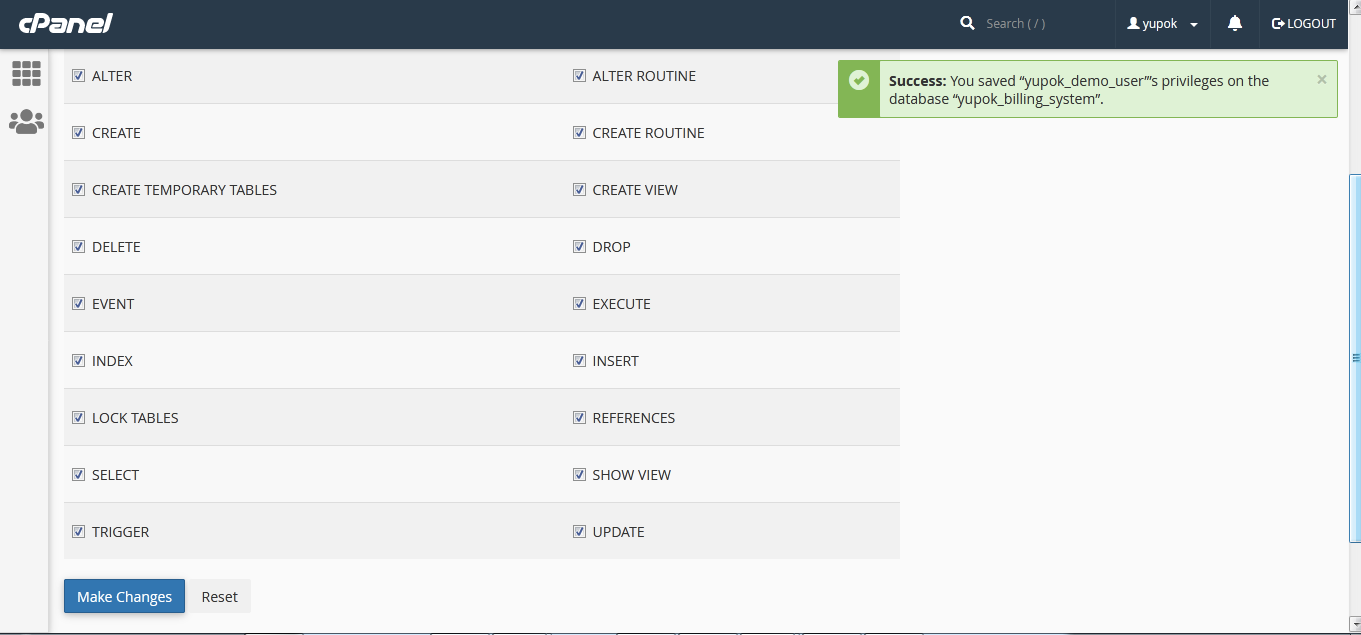
- Step 11: A Success message appears on top right corner. After that scroll down to the page and press Go Back
- Step 12: Example
YOUR_HOST_NAME : localhost Mostly its localhost but if not then contact your website service provide.
YOUR_DATABASE_NAME : yupok_billing_system This is demo which we explained above. Your real database name is different.
YOUR_DATABASE_USERNAME : yupok_demo_user This is demo which we explained above. Your real database username is different.
YOUR_DATABASE_Password : password That is explained in Step 6.
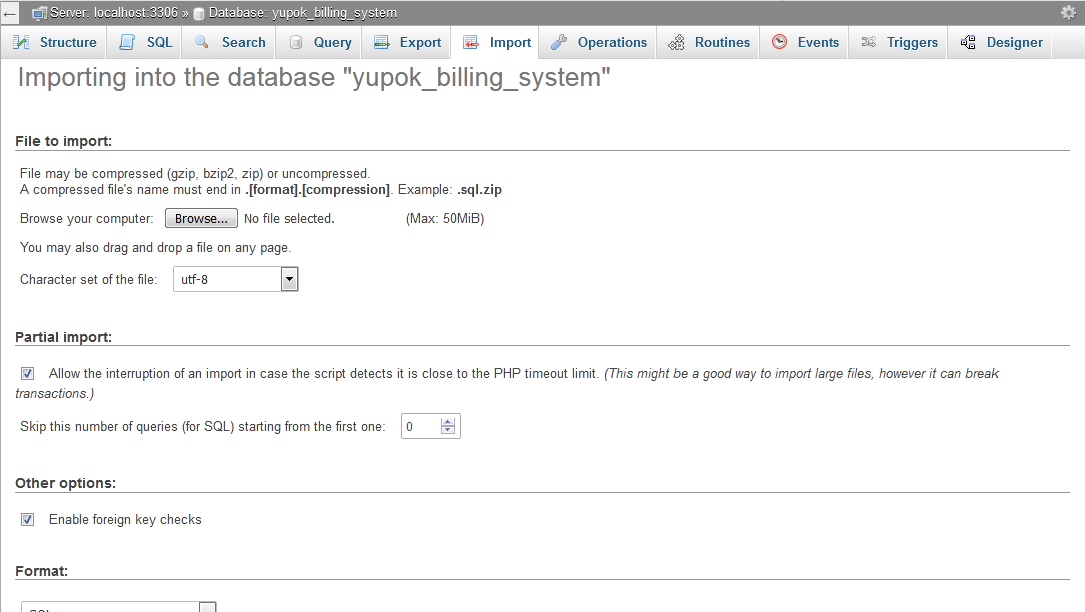
- Step 13: Import sql file to Database. Go to CPanel homepage scroll down to Database , Click on phpMyAdmin, your database will be open.
- Step 14: On the left sidebar your Newly Database Option will be shown Just click on that.
- Step 15: After click see on right side there is Import Option click on that and browse & select sql file from your downloaded database folder and press Go Button on the bottom.
- Step 16: Your database will be imported and your website is ready to Use.
Configuration
Do Carefully Otherwise Script will not work
- After Successfully configuration (Which we explained above See Again) your database do below steps carefully.
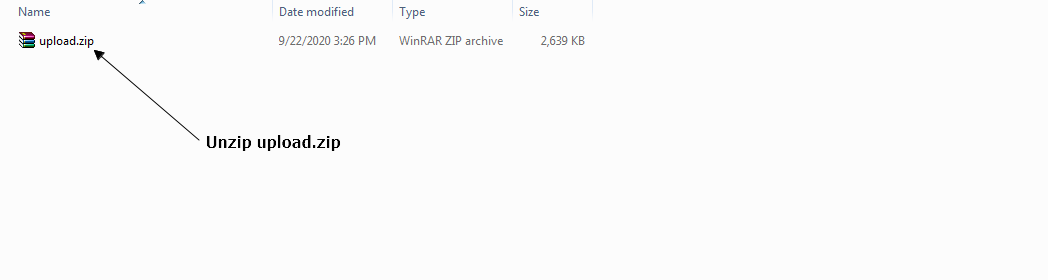
- Step : 1) Unzip the Downloaded File, Go to upload Unzip again upload.zip
- Step : 2) Open admin folder then open db folder the open config.php in any Text Editor like Dreamweaver, Notepad++ etc. admin folder->db folder->config.php

- Step : 3) Fills details carefully according to your database. Otherwise, Script won't work
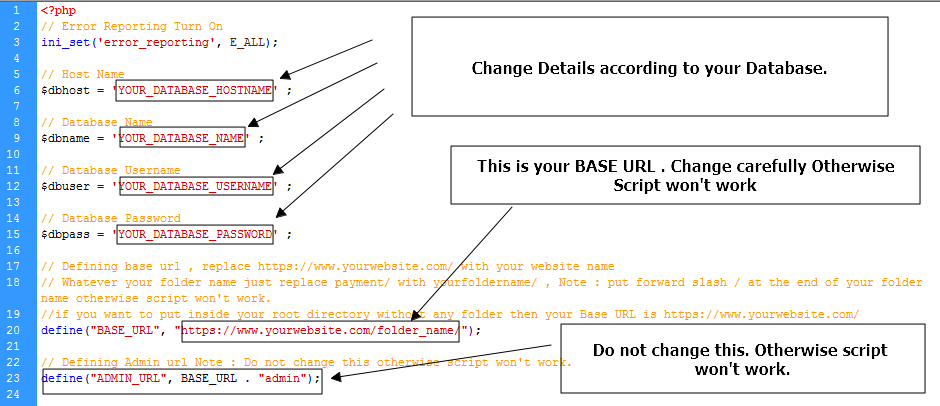
- Step : 4) After carefully changing all the details just save it and close config.php
- Step : 5) Copy all folders & files and upload to your server. It's Done now. Your website is ready to use.
- Note 1) : If you want to put this script inside your root folder means without any folder then your BASE URL will be https://www.yourwebsite.com/ . Do not forget forward slash i.e. / at the end of your BASE URL.
- Note 2) : If you want to put this script inside any folder in your root directory then your BASE URL will be https://www.yourwebsite.com/folder_name/ . Do not forget forward slash i.e. / at the end of your BASE URL.
- Note 3) : Do not change ADMIN URL in config.php . Otherwise Script won't work.
SMS Configuration
- First Go to TextLocal website & Login with your Credentials TextLocal Login
- Textlocal API Key : Login to TextLocal & in Settings you will get your API Keys.
- Textlocal Sender ID : If you do not have SenderID then fill TXTLCL otherwise use your own approved SenderID
- Now login to your Admin Panel of this Script & Go to SMS Setting option on Left Sidebar.
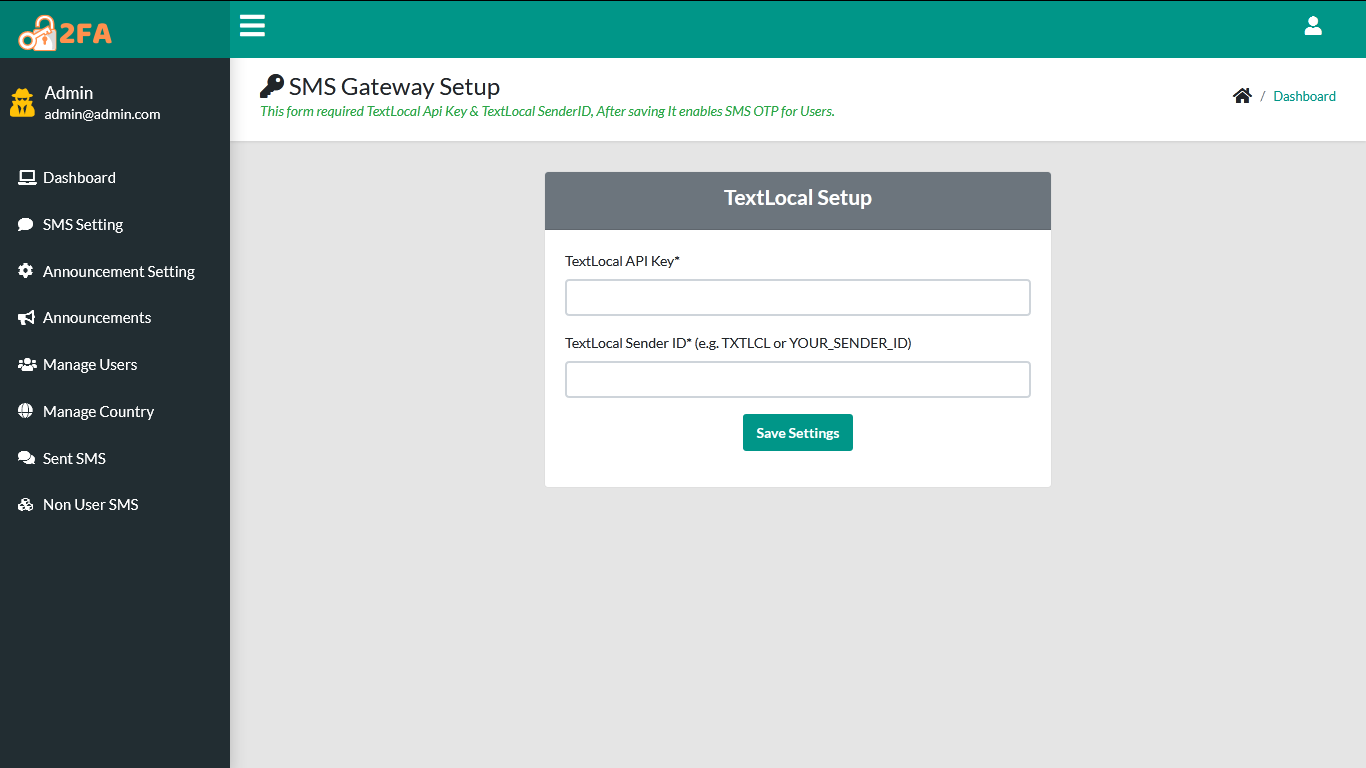
- Now Paste your API Key in TextLocal API Key field
- Fill your TextLocal Approved SenderID or Use TXTLCL.
- Then after save the settings. SMS Setting done now.
Admin Panel
1) Admin Login
- First Time Admin Login
- Admin URL(Link) : If you put this script inside any folder then Admin Link is https://www.yourwebsite.com/folder_name/admin/ & If you put this script inside your root directory means without any folder the your then Admin Link is https://www.yourwebsite.com/admin/
- When you are logging in as Admin for the first time use this credentials. Email : admin@admin.com & Password : 123456
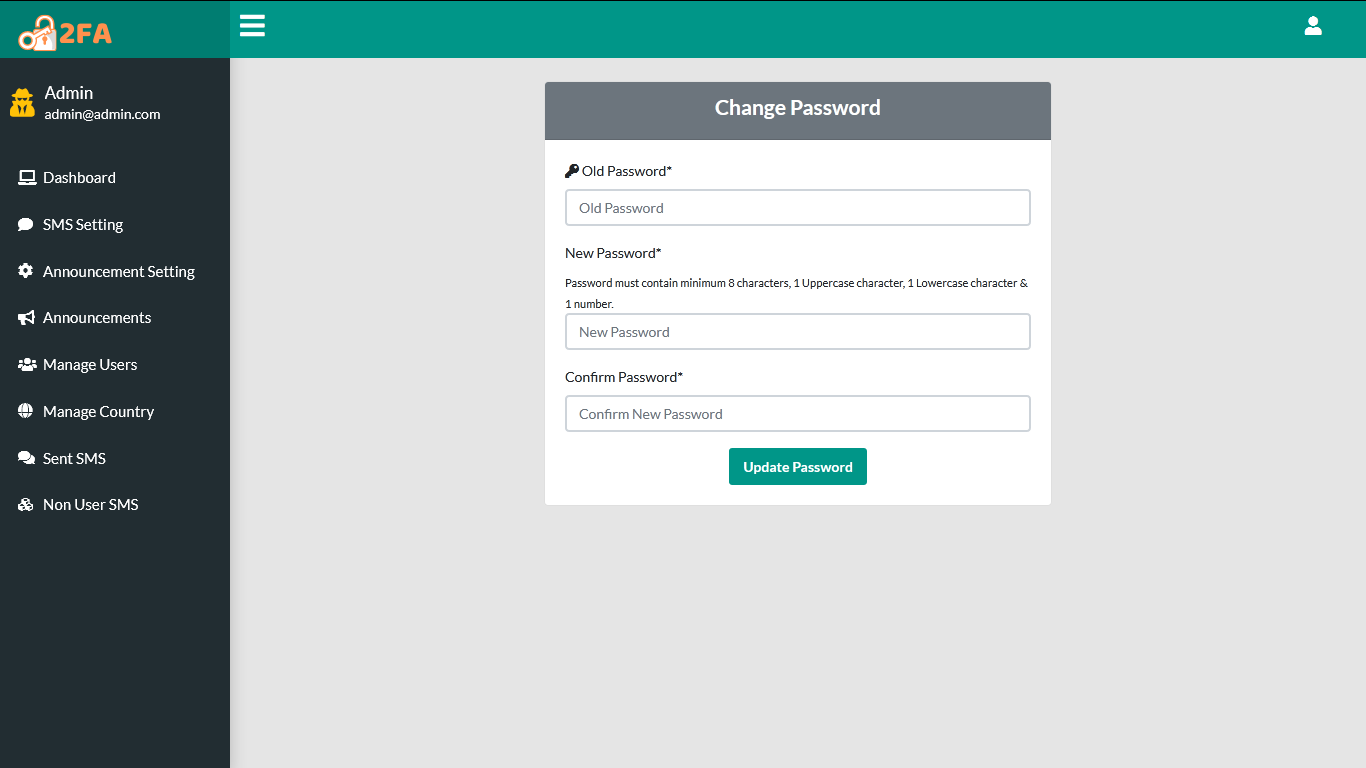
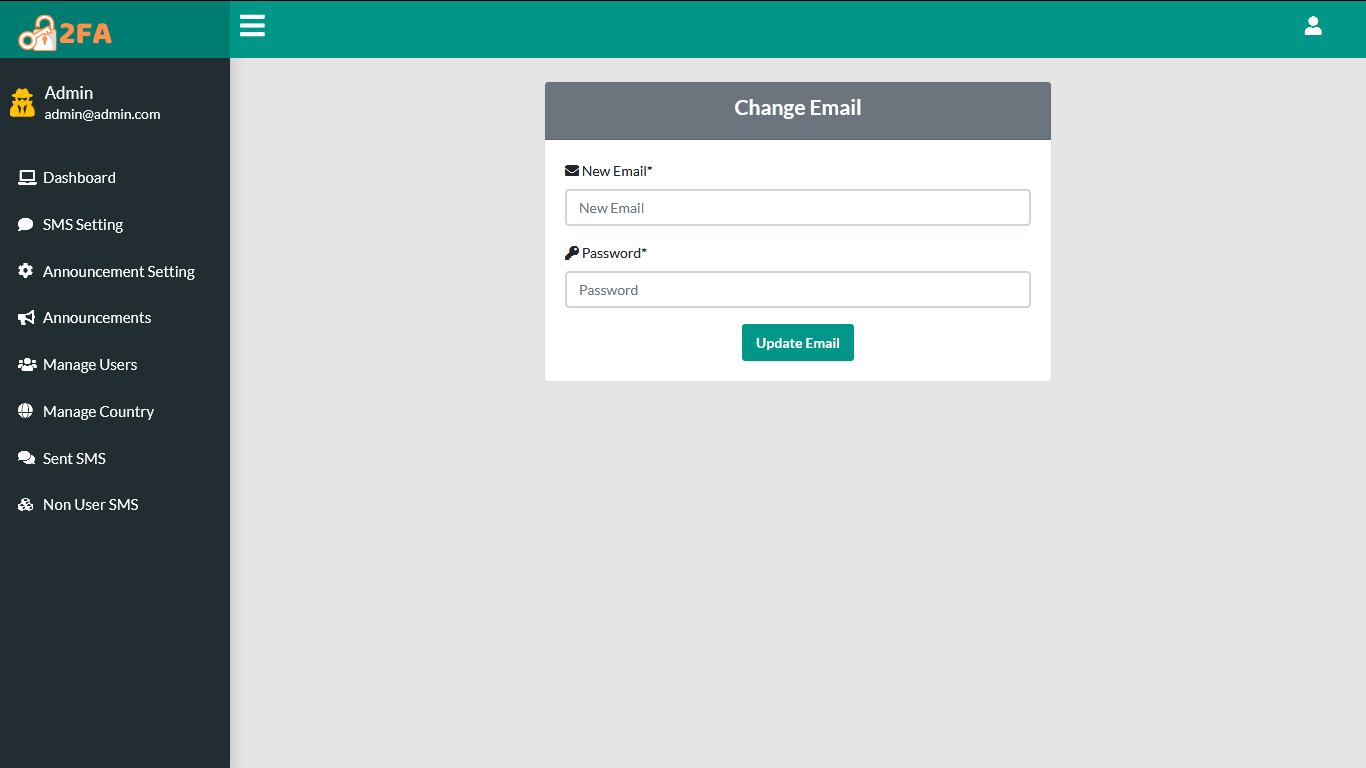
- For your safety, Click on Top Right Corner User Icon and click on Email Option and change your Admin Email by using password is 123456
- For your safety, Click on Top Right Corner User Icon and click on Password Option and change your Admin Password by using Old Password is 123456 and keep your New Password at the safest place in the Universe.